Two setups, same logic
The first setup is the budget one: not cheap, because this is an expensive line of work, but plenty for social media interviews and digital content. The second is the "Netflix budget" one. It isn't actually Netflix, but it's aimed at work with more money behind it, like commercials or film. The prices I mention are from when we shot the video, in January 2023.
The budget setup
The camera is a Sony A6400. When we shot this, it was going for about $750 at the Sony store, around 3,000 soles. It has Sony's autofocus, which is ridiculously good, and it shoots 4K. It doesn't do 10-bit, but for interviews it's great. Something really handy: you can plug it into a power bank and roll for three hours straight. If you're just starting out, the ZV-E10 is worth a look too. The lens is a Sony 50mm f/1.8, probably the one most people use for this.
For audio, Alonso used a Hollyland Lark 150. He figures it was going for about $350: prosumer gear, not fully professional and not fully consumer.
1. Start with the background
Step one for anything you shoot is finding your background. You can move people; you can't move walls. Since you'll be at f/1.8 and the background will be out of focus, I have a trick: I close one eye, pirate-style, and look at the space a little out of focus to imagine how it's going to read. I like composing with corners, because they give the image more depth.
2. Know your camera's limits
Cheaper cameras don't have as much dynamic range. That's why in this setup I stayed away from the windows and kept them out of the shot: the difference in light is huge, and it's hard to make up for it with lights that aren't that powerful.
3. The window calls the shots
If you've got a window nearby, your interview is already half done: with a natural light source, things start looking good fast. The first thing I do is put on an ND filter to control the ambient level, because we don't control the sun. Then I add lights.
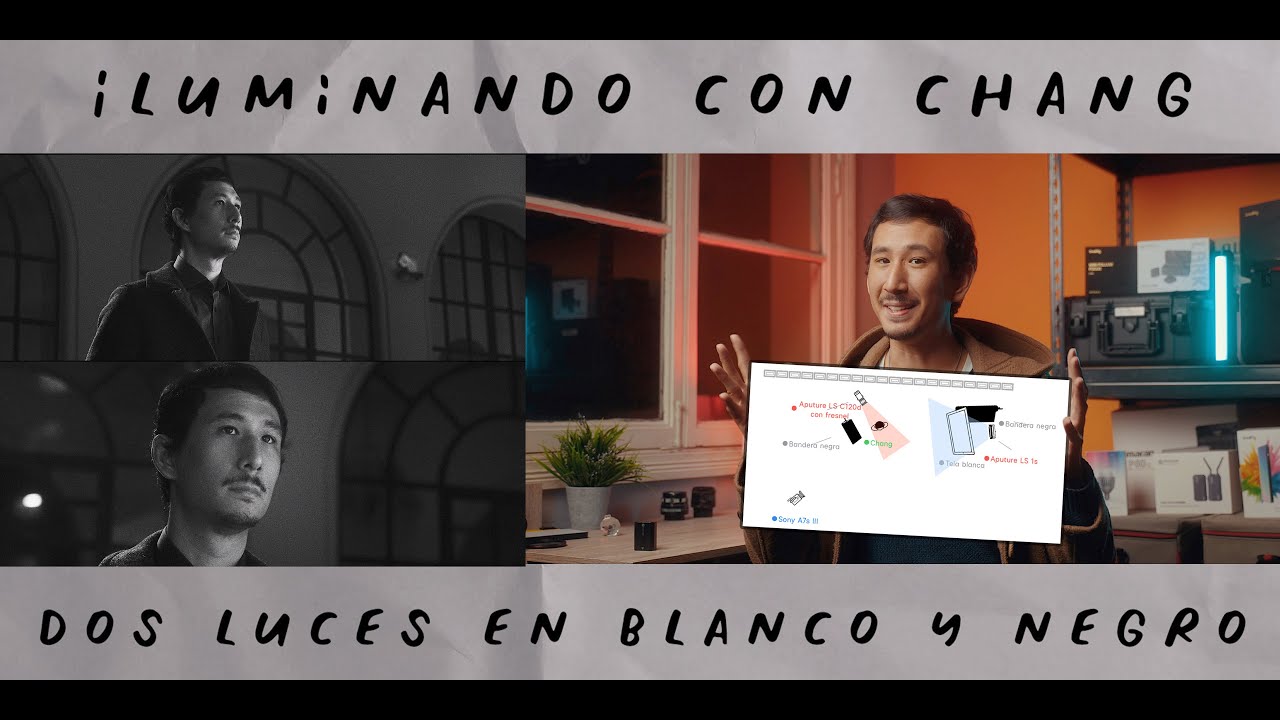
For the key I used an LED panel, and here's the most important tip in the whole video: when there are windows, bring your light in from the same side as the window. In the video I put it on the opposite side so you can see how weird it looks: the image loses dimension and goes flat. On the right side, bounced off the wall, the source gets bigger and gives the whole image so much more depth. One light, and not even an expensive one, bounced off the wall.
I checked the skin with false color: it was sitting between green and gray, so I brought the light up until it turned pink.
And a piece of advice I always give: buy good stands. Lights matter, but a good stand will last you fifteen years or more, and it protects your lights. They're expensive, but they're worth it.
4. Separate from the background
For the backlight I used an Amaran 100d: affordable, light and portable (Godox lights are good too). A light like this used to cost something like $800; now it runs between $100 and $200. Since we were on the ground floor, I put the stand outside, so the light comes in as if it were part of the place. I kept it subtle and pulled it back a bit, because it was hitting his nose in a really unflattering way.
5. Negative fill
The last step is a black cloth, as close to the interviewee as you can get it without it creeping into frame. The room was white and light was bouncing everywhere; the cloth takes away that fill and gives you your contrast back. It doesn't matter how ugly the set looks: what matters is what's inside the frame.
A directing tip: ask the interviewee to rephrase the question in their answer. If you ask their name, they should answer "My name is…", not just the name. That way the answer makes sense on its own in the edit.
Alonso on audio
- Fans. If your light has a noisy fan, move it away from the mic. With a lav (lavalier) mic it matters less, because it mostly picks up what's close to it. A constant noise like a fan can be cleaned up in post (Alonso recommends iZotope RX); what's hard to get rid of is a door slamming or a motorcycle going by right over the dialogue.
- Where the lav goes. Ideally, at the tip of the sternum. If that's not possible, somewhere else on the chest; if that doesn't work either, on the back or in the hair, but that's something you talk through with hair and makeup beforehand. There are colored lavs designed to disappear into hair, like the Countryman ones.
- Wireless. The audio can sound fine, but the transmission can fail. Monitor the whole time so you can go again if there's a dropout.
- Gain. Turn the camera's preamp all the way down and bring up the one on your audio gear. Levels always in the green; Alonso prefers to leave them around the middle and bring them up in post.
When the mic has to stay hidden
- First, mute or switch off the gear. If someone's on headphones, all that mic handling is going to hurt.
- The transmitter goes on the belt or tucked into the waistband.
- Ask permission before you put your hand under someone's clothes: not everyone is equally comfortable with their body.
- Leave a little slack in the cable. If it gets yanked, you'd rather the cable break than the connector, which is a lot more expensive to fix.
- To hide it, use surgical tape (any pharmacy sells it), stuck to the fabric, which rubs less than skin does. If the T-shirt is really thin and the mic shows through, tape it to the skin. Under clothing you don't need the foam: the fabric does that job.
- If the person is wearing a chain, have them take it off or tape it down: it knocks against the mic and you'll hear it.
Alonso also talks about the agreements you have to make on set: with wardrobe, with the DP about the fans on the lights, and with production, who sometimes want spotless audio right next to a busy avenue.
Short on budget? Prioritize audio
If an interview doesn't have much budget, prioritize audio. You can cover a weak image with b-roll, but if the audio is bad for the whole piece, people close it because it's unbearable. And prioritizing audio costs less than prioritizing camera.
The high-end setup
With a camera that has more dynamic range (in the video, a RED), now I can go wider and show the window. Since the shot is wider, the previous light isn't enough anymore, so I switched to an Aputure 600d pointed up and bounced, with white fabric around it so it wraps more: a sort of cove light. I put an ND filter on the camera to go from f/7.1 to f/1.8 and get that background blur everybody loves. At the end I added a 300d to throw a pattern on the wall: not necessary, but it adds something.
The logic is the same as in the budget setup: one light that supplements the natural light, one that separates the subject from the background, and negative fill for contrast. If the client wants a brighter image, you swap the black cloth for a white one. You can light a fiction scene with that same logic: what changes is the intensity and what you put in front of the lights. Don't be intimidated: interviews are the basics of this craft, and probably what's going to pay your bills.
Pro-level audio
- Lavs: the Sennheiser EW 112P G4, the industry standard in TV, film and commercials. It transmits a stronger signal and it's very unlikely to drop out at short range, although it's bigger and harder to hide.
- Recorder: a Zoom F6, which Alonso says is one of the best for the money. He bought his for $650 in Peru. It runs on standard batteries, so it won't die on you halfway through the shoot.
- Boom: a Rode NTG5, about $500 with the mount included. Alonso once did a blind test with some friends, and they liked it almost as much as the classic Sennheiser MKH 416, which costs twice as much.
- Channels: boom on channel 1, with phantom power; lav on channel 2. Aim for the voice to sit around -12 dB. When he's monitoring, Alonso puts the lavs on the right and the boom on the left, so he can tell by ear which one failed.
- Always two XLR cables (he carries a 3 m one and a 6 m one). A client will judge you more for a cable that fails than for a mixer that fails.
- Phantom power off when you plug in. Connect the mic with the channel off and only then turn it on; otherwise you can damage the mic.
- Point the boom at the chest, not the mouth. Aimed at the mouth, you get more sibilance; aimed at the chest, the voice comes out deeper. And before you roll, check with the DP that it isn't casting shadows in frame.
Looking into the lens, and other tricks
- If the interviewee has to look straight into the lens, it's hard. With budget, you can use a teleprompter that shows the interviewer; if not, ask them to look into the lens while you ask the questions.
- No slate? Have the interviewee clap once at the start: it lets you sync picture and sound.
- Don't talk the second the answer ends, so your voice doesn't step on theirs in the edit.
- People get intimidated by the camera. A trick: start rolling early, while you're chatting, and then ask permission to use that take. It's usually the most natural one.
My takeaway
Alonso sums it up better than I can: if you have $10,000 in camera and $100 in audio, your videos might look like $10,000, but they won't feel like it, because they won't sound like it. Put a little more money into audio.
Thanks to Alonso López for the audio, to Joshua, who was behind the camera, to Leonardo for the help, and to Juan Carlos, our test interviewee.
Gear I mention
- Sony A6400
- Sony ZV-E10
- Hollyland Mars M1 (wireless monitoring)
- Hollyland Lark 150 (wireless mic)
- Amaran P60c (LED panel)
- Amaran 100d (now sold as its newer version, the 100d S)
- Rode NTG5
- Sennheiser EW 112P G4
These are affiliate links: if you buy through them, I get a small commission at no extra cost to you.