First question: what's it about?
Thanks to my friends at Tankiu, and especially to Bruno, the director, for trusting me with this project and for letting me use the footage from that day. Real shoots usually come with a lot of restrictions, so it had been a while since I could show you one from the inside. It was a pretty hectic day, with a big lighting and camera crew, and I want to thank all of them: every single person's work makes a DP's work better.
When you get called in as DP, the first question is: what's it about? That leads to the other question you have to ask yourself, and one your gaffer will probably ask you too: how are you going to approach the project? The first thing I asked for was the brief, to understand the project as a whole.
The idea was a young woman in a walk-in closet who looks in the mirror and starts interacting with it, and an alternate world where her alter egos talk about her. And they told me: "Chang, there isn't much time, we have to do 26 shots. How do we pull it off?"
A DP gets hired for two things: lighting beautifully and solving problems on set. For me, the job is to take weight off the director and production, and to make sure everything comes out on time and looks as good as possible in the time you have.
Location or studio?
Knowing where you're going to shoot helps a ton in planning how you'll light it, because a location and a studio are not the same thing. Besides us, doing the main spot, there was going to be one team shooting digital pieces and another doing stills. The call was to shoot on a built set, and for me that was excellent: it ruled out the problems of a real location, like natural light leaking in or the hours of daylight you have.
The next question was what the set would look like, because the budget also determines the size of the space, the ceiling height and what you have to light. I talked it over with production and art, and together we reached a consensus on the best we could do with that budget.
The lighting plan with my gaffer
With the set measurements in hand, I pitched the idea to my gaffer: top light to cover the whole space, a book light or a butterfly, and a couple of Fresnels to cut slashes of light across the walls and give it that summer feel, because it was a summer campaign.
To save time, the question was: how many lights do we need, and do we have enough stands to light space A and space B almost at the same time? That way, moving from one to the other would be way faster. It was not a small lighting order, but it let us make the most of the day.
If you've got a complicated shoot with a ton to get through, ask yourself how to optimize with your resources: do you need more people, more lights or more time? It's a triangle. In our case, we chose to have enough lights to keep both spaces lit pretty much at the same time.
Depth in high key: pools of light
I really like lighting with light and shadow, creating depth with little pockets of light and shadow. But in high key the challenge is different: here the strategy was to make pools of light on top of more light. A lot of people are terrified of clipping a little or pushing the lights up when they look at false color, and in high key that was exactly what worked: those touches of light on light gave us a lot to play with in terms of depth.
Camera, lenses and filters
We shot on a RED Komodo (it was fun to shoot RED again), with some really beautiful, really sharp Leitz lenses, and a Laowa 12mm, super wide, which added a ton.
Something I almost always have on commercials is a rotating polarizer. It helped the model's skin look a lot better and let us control reflections on the floor, on the table and on the shoes themselves. Heads up: if you use a rotating polarizer, don't use variable NDs. A variable ND is technically two polarizers, and adding a third isn't ideal. With a polarizer, fixed NDs are the way to go. We used two, an ND 0.3 and an ND 0.6. That way we could push the lights as hard as possible and control it with the ND, and when we switched from 24 to 60 frames per second, all we had to do was pull the ND, shoot and put it back in.
Shaping the face
As you know by now, for me shadow always adds something. On the tighter shots we used floppies underneath to get a bit of shadow under the chin, which shapes the face better, and a very subtle negative fill to give the face dimension. It's a tip I like to give: always keep a floppy handy to give the face a little more pop.
Exposing in RAW
When I shoot on RED I like RAW, and my goal is to have false color perfectly balanced, with no blown-out highlights and no blacks that are too dark. Since we had light to spare, we worked out the ND so I'd have a little extra: we shot at ISO 800, the native ISO, but overlighting a bit, so that in post, when we brought the ISO down, the image would come out much cleaner. We wanted the image as crispy as possible. If you're shooting high key, overlight a little without clipping anything and keep the information in the RAW: in post you bring the ISO down and the shadows come out so much cleaner.
What made the day work
- Communication. We used Hollyland Solidcom intercoms. On a set with a lot of people, that's the way to go: nobody has to yell from one side to the other to ask for a light to come down.
- Don't hold up art. We got in early and the first thing we did was rig the two 6 × 6 frames overhead. That way, the art department kept working while we set up the rest of the lights.
- Presets. My gaffer, Corco, ran the lights from an iPad with the Sidus Link app. The strategy was to build the ratios at the start of the day and save them as presets, so we could go back to any scene.
- An extra light. That same day I finally got to unbox an Aputure Light Storm 400x that had arrived for me (I work with Aputure as a partner), and it let us build an additional setup in parallel to save time.
- Setflow. With so many people, it helped the camera team to have Setflow, the app Javi and I made to keep track of shoot dates and payment dates. It was the sponsor of this episode, so there you go: thanks to Javi, and thanks to me, I guess.
The two setups
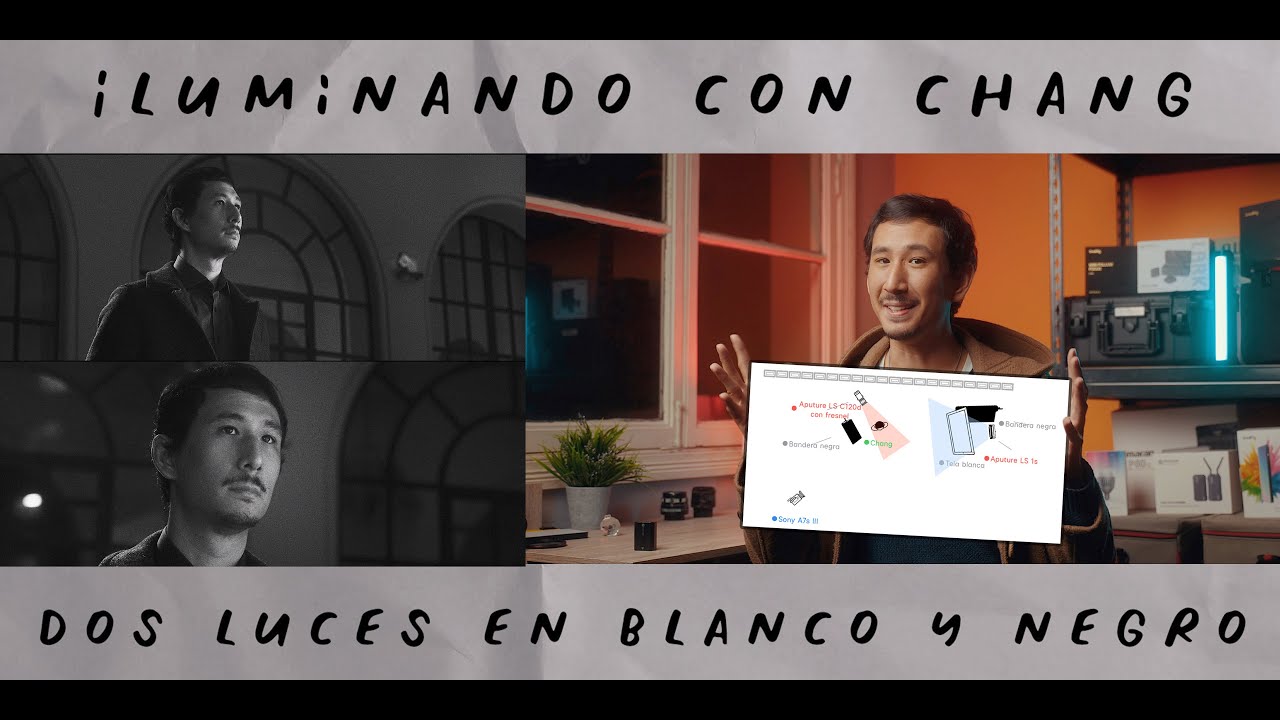
For the main one I went back and forth between a book light and a butterfly. Since it was a fashion piece and we wanted the skin to look as beautiful as possible, the idea was to have the biggest diffusion we could, and to create depth I ended up combining the two: a very subtle book light to give one side of the face dimension, and a giant frame as the key, butterfly-style, lit by two F22s on a single stand to save space. Up in the ceiling there was a 1000c and a 1200x; an 80c hidden in the ceiling worked as a backlight, and other 80cs put patches of light here and there. On top of that, a light with a spotlight attachment cut a slash of light, and a Nanlite 720 helped out in the background.
The second setup was pretty simple: the 400x with a long light bank, which gives a really soft light, a layer of diffusion over it and another light behind, plus an F22 helping with the backlight. Simple to pull off, but the image looks great and it let us save time.
I wish I could spin you a fancier story, but honestly it was pretty simple, and that was what we got right: do it well, keep it simple and do it fast.